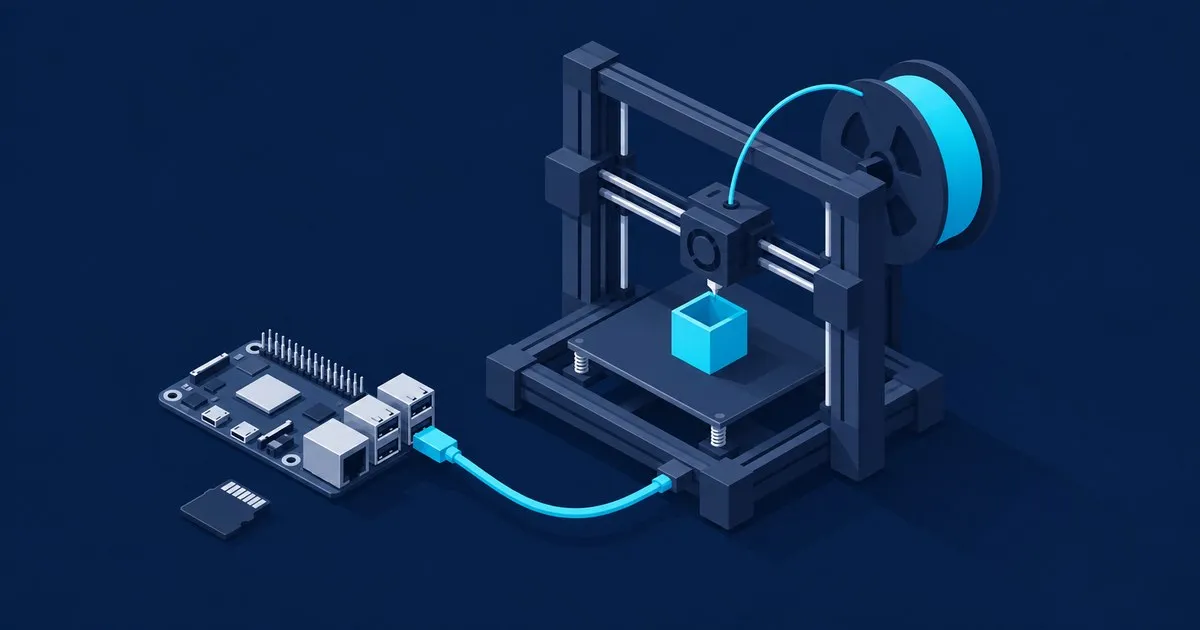
Here is how to install klipper on raspberry pi: install MainsailOS, flash your printer’s controller, then configure and verify the machine. The host and controller both need Klipper software. Klipper’s installation guide covers both sides.
Install Klipper on Raspberry Pi with MainsailOS
For a dedicated printer Pi, use MainsailOS. It includes Klipper, the Moonraker API server, and the Mainsail browser interface. MainsailOS overview.
Gather a Raspberry Pi, microSD card, card reader, and USB data cable for the printer. The MainsailOS guide recommends Pi Zero 2, 3, or 4 and specifies at least 16 GB of storage, with 32 GB recommended. Use a power supply matched to your model; Raspberry Pi specifies 5 V at 3 A for the Pi 4. Power requirements.
In Raspberry Pi Imager:
- Select your Pi model, then Other specific-purpose OS → 3D printing → MainsailOS. Choose the recommended image for that model.
- Select the microSD card. Writing the image erases it, so back up anything needed first.
- Set a hostname, username, unique password, timezone, and Wi-Fi details if needed. Enable SSH.
- Write the image, finish verification, and insert the card into the Pi.
Boot with Ethernet or the configured Wi-Fi. Open http://mainsailos.local, substituting your hostname. If that fails, use the Pi’s IP address from your router. Under Machine, update the installed components before building firmware. A missing printer.cfg error is expected at this stage. First-boot instructions.
Log in through SSH using your chosen credentials. In a terminal, replace YOUR_USERNAME:
ssh -l YOUR_USERNAME mainsailos.localAlternative: install with KIAUH
Already have Raspberry Pi OS Lite installed? KIAUH installs the printing components onto that system. Run these commands on the Pi:
sudo apt-get update
sudo apt-get install git -y
cd ~
git clone https://github.com/dw-0/kiauh.git
./kiauh/kiauh.sh
Use its installation menu for Klipper, Moonraker, and Mainsail, or choose Fluidd as the interface. Continue below once those components are installed. MainsailOS users already have the core components.
Build and flash the printer controller
With printer power disconnected, identify the controller board and MCU. Select a matching printer configuration or board template and read its build instructions. Firmware preparation. Keep the original firmware and settings available for recovery.
On the Pi:
cd ~/klipper
make menuconfig
For the stock 2020 Ender 3 V2 configuration with STM32F103, the upstream configuration specifies:
| Menu setting | Value |
|---|---|
| Processor | STM32F103 |
| Bootloader offset | 28 KiB |
| Communication | Serial on USART1 PA10/PA9 |
Apply these only to matching hardware. Save and exit, then run make.
For this Ender example, download ~/klipper/out/klipper.bin through an SFTP client. Copy it to the printer’s SD card using a filename ending in .bin that differs from the previous flash. Disconnect USB, insert the card with printer power off, and power on to flash. Follow another board’s own flashing instructions when using different hardware; SD-card and USB flashing are board dependent. Flashing guidance.
Create printer.cfg and connect the MCU
Upload the matching configuration as printer.cfg through Mainsail’s Machine page. Add [include mainsail.cfg] at the top to load the preinstalled Mainsail configuration. Configuration setup.
Reconnect USB and run this on the Pi:
ls /dev/serial/by-id/*Set the existing [mcu] section’s serial: value to your controller’s complete returned path. Save, restart Klipper, and issue STATUS in Mainsail’s console; it should report ready. MCU connection procedure.
How to verify before printing
Follow the Klipper configuration checks with the power switch accessible:
- Confirm cold nozzle and bed readings are plausible and stable. Test emergency shutdown with
M112, then recover withFIRMWARE_RESTART. - Command each heater separately to 50°C, confirm the correct temperature rises, then switch it off and confirm cooling. Cut power if heating is uncontrolled.
- Run
QUERY_ENDSTOPSwith switches released and pressed. Verify each state changes correctly. - With axes clear of their limits, run
STEPPER_BUZZ STEPPER=stepper_x, then test the other axes. Expect a 1 mm positive move and return. Confirm direction before issuingG28to home.
Calibrate heater PID on your machine, then save with SAVE_CONFIG. The stock Ender configuration uses a 200°C hotend tuning target; the configuration-check guide gives 60°C for bed PID. For matching hardware, run each calibration to completion separately:
PID_CALIBRATE HEATER=extruder TARGET=200
SAVE_CONFIG
PID_CALIBRATE HEATER=heater_bed TARGET=60
SAVE_CONFIG
Set Z-offset and bed leveling before a first-layer patch, then print a small calibration cube using your proven filament profile. Suggested acceptance criteria: joined first-layer lines, correct axis motion, stable temperatures, and no MCU shutdown. Keep established speeds while checking the installation.
Review slicer start/end G-code: START_PRINT needs a matching macro in printer.cfg. Disable coasting; Klipper recommends pressure advance instead, which has its own pressure advance tuning procedure. Slicer documentation.
Fix common installation failures
- Dashboard unavailable: try the IP address and recheck the network settings before rewriting the card.
- MCU unavailable: check power, USB data connectivity, firmware, and the serial path. Inspect
~/printer_data/logs/klippy.log. Connection diagnostics. - MCU protocol error after an update: rebuild and flash the outdated controllers listed in the error. Restarting alone does not replace their firmware. Protocol-error repair.
Keep remote control behind a VPN or another protected access service, following Mainsail’s remote-access guidance. The Pi now needs routine security maintenance; Tech Sentinel covers cybersecurity and patch priorities.


